Children’s Open Wheelchair
June 7, 2017 in Solution
Download the blueprints
Via Open Wheelchair Foundation
Be sure to click the ‘This solution helped me’ button at the top of the page if you give this a try!
by Cracked it
June 7, 2017 in Solution
Download the blueprints
Via Open Wheelchair Foundation
Be sure to click the ‘This solution helped me’ button at the top of the page if you give this a try!
by Cracked it
January 27, 2017 in Solution
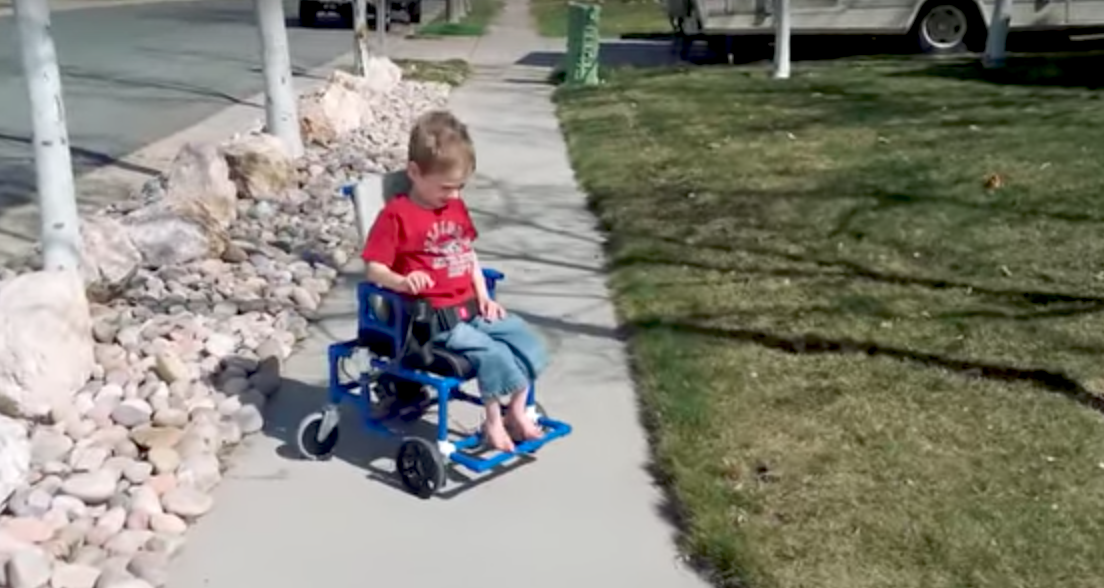
This DIY product is designed for a three years old boy that was born with cerebral palsy. He has an inadequate trunk control so he can not sit independently, he would fall on his side.
At home he sits in a custom tailor made seatshell. But this is too big to take everywhere along. His parents like to go out by bike to friends or family, but there is always the problem that they can’t let hem sit on a normal chair to play with other children.
The question of the parents was to make a chair which is foldable, easy to carry, giving enough support so that the boy can sit straight and play with his friends, but still compact to put in the bicycle bag.
A shot movie, following on the intractable, will explain the advantages of the seat.


Buy two different pieces of wood, a 3mm multiplex and a 15mm multiplex. Than saw two 395x300x4mm pieces and two 330x400x15mm pieces.
Drill holes in the 15 mm pieces; drill in a line 35mm of the border. The distance between two holes is 3 mm.Buy two different pieces of wood, a 3mm multiplex and a 15mm multiplex. Than saw two 395x300x4mm pieces and two 330x400x15mm pieces.
Drill holes in the 15 mm pieces; drill in a line 35mm of the border. The distance between two holes is 3 mm.
There have to be cut out rectangulars as well, this can also be done with a drill, by drilling holes close to each other.

First there has to be sawed a lath 330x20X15, we attached this to one of the wooden pieces of 15 thickness, with an air staple gun but this can also be done manually.

Weave the rope between the thickest wooden pieces by using the saddle stitch. This technique will ensure the proper firmness.


Attach the foam using an air staple gun or an manual stapler.


Attach the leather, by using an air staple gun or manually with a stapler.

Stich handles and attach them onto the back of the wooden pieces.


Attach the thinner wooden pieces with some nails onto the backs of the seat, to hide the ugly staples.


First make a finishing stitch around the openings for the buckles.
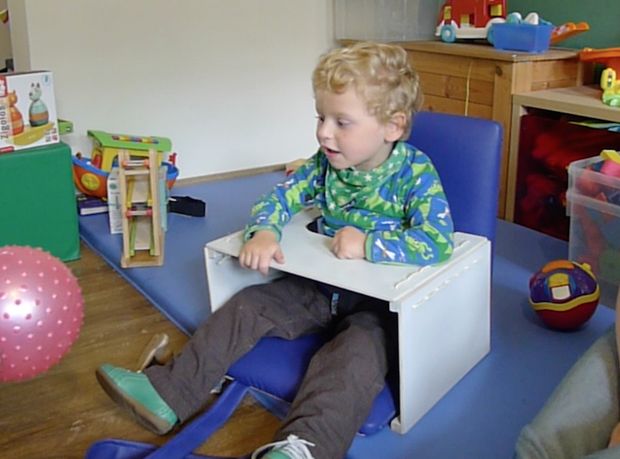
We used a support pants, because the child can not sit straight by himself. That little pants ensures support around the waist and helps him to sit up straight.
To attach the support pants, insert the buckles in the openings and secure them at the back with the clamping buckles.


The table ensures extra stability for the child. The child can put his arms on the table and lean on it, this will make him sit up more straight by himself. He has to do some effort by himself with is better than a belt around his chest, because exercise is good for the child, otherwise he will get lazy which is bad for his muscles.
The table is made in the same style as the seat.
We used the multiplex. Dimensions:
– table leaf: 390x310x5mm
cutout for the belly: 260x150mm
– table legs: 310x210x5mm
To make the cutout for the belly, measure the waist of the child and see for yourself what the best measurement is for your child.
To put the table together, we used the same technique as the seat so we drill holes in the planks 20 mm of the borders. The holes are drilled 30mm from each other. For the plank, also drilling 20mm from the border and 30mm from each other.
For stability, we attached 4 laths again on the side planks, on each side plank, two laths. This laths are 18x15x310mm.
The planks are fixed to each other with rope again, we will do this in the same way as we did with the seat.
The loop that can be seen on the pictures has been stitched out of the skai and attached with staples onto the middle plank. This loop can be attached onto the support pants. This ensures that the table can’t be pushed away by the child while he is playing. This gives extra safety.

You can find more information on our blog
Project made by:Carolle Geldof, Emily Quartier, Jaana Caes and Sahin Vanneste
Via Instructables
Be sure to click the ‘This Solution Helped Me’ button at the top of this page if you give this a try!
by Cracked it
November 17, 2016 in Solution
This hack is the perfect way to make sure young kids and anyone that finds unwrapping too fiddly can still enjoy opening their gift!
You will need:
Did this hack work for you? Remember to click the ‘This solution helped me” button at the top of this page, and then share a video of the fun part – unwrapping!
by Cracked it
November 4, 2016 in Solution

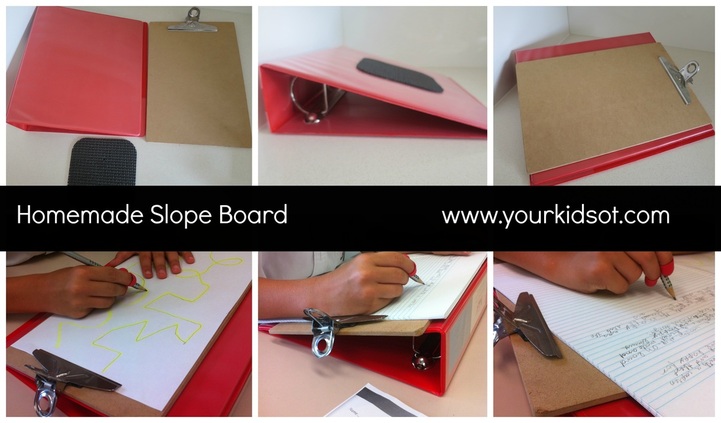
Make your own using 3 easy items.
Simply assemble and you are ready to use it!
This is definitely an economical way to make a slope board and is perfect for those wanting to try out a slope board before paying for a longer term item. This homemade version cost me less than $15.
Via Your Kids OT
Remember to click the ‘This Solution Helped Me’ button at the top of the page, and post a picture of your writing slope in the comments!
by Cracked it
October 20, 2016 in Solution
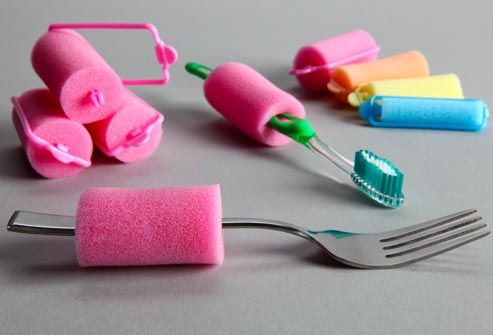
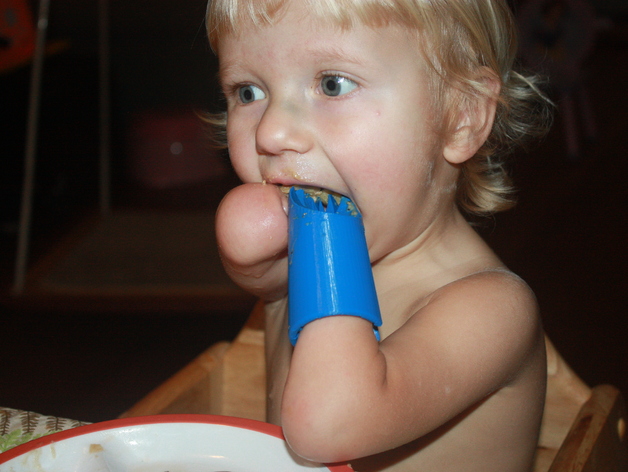
For a budget friendly way to create built up handles for cutlery, pens and toothbrushes, you can use a pack of foam hair rollers!
This video uses foam tubing purchased specifically for making built up handles.
Remember to click the ‘This Solution Helped Me’ button at the top of the page if you found this hack useful!
by Cracked it
October 14, 2016 in Solution
Materials:
Tools:
Method:
Please remember to click the ‘This Solution Helped Me’ button at the top of this page and leave a comment to let us know how you got on with this hack.
by Cracked it
September 29, 2016 in Solution
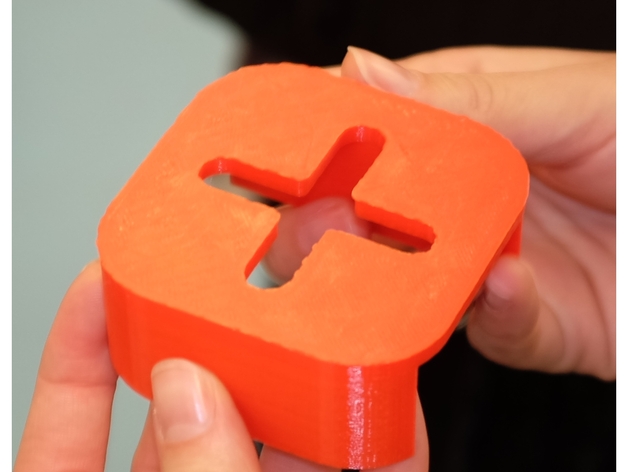
Via Thingiverse
A guide for the wheelchair joystick to aid learning.
Our sponsor charity DEMAND Design & Manufacture for Disability will be happy to help if you don’t have access to a 3D printer, just get in touch via their website.
Remember to click the ‘This Solution Helped Me’ button at the top of this page, or leave a comment letting us know how you got on with this solution!
Via Thingiverse
by Cracked it
September 29, 2016 in Post, Solution
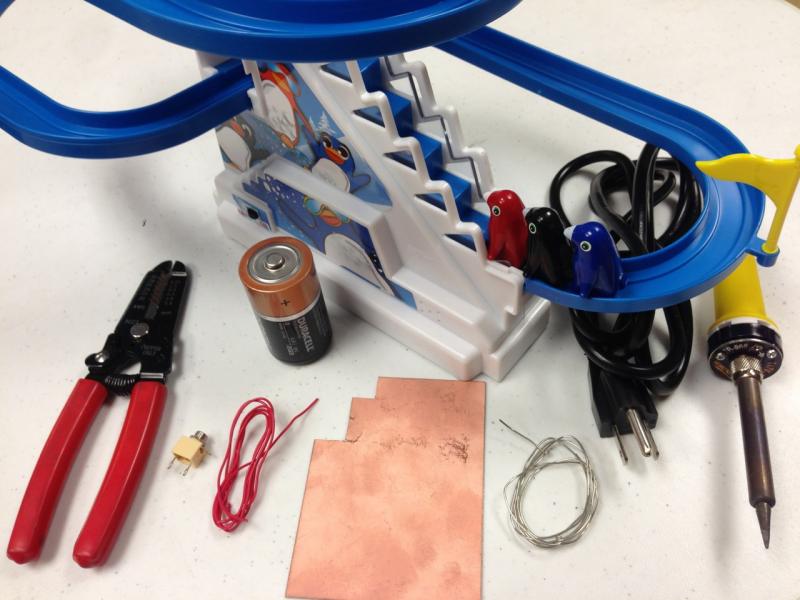
Via DIYability
Materials required
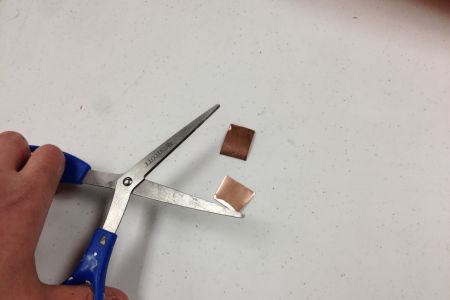
Using scissors cut two small squares of copper. It is probably best to use older scissors to not dull your good pair. Cut an identical square from a small piece of cardboard the thickness of a postcard or cereal box top is preferred.
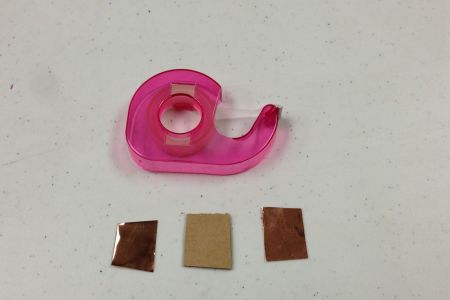
Using double sided tape, put the copper squares on either side of the cardboard. Trim the final square to make edges even.
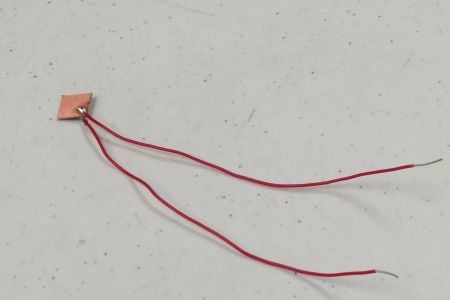
Cut two wires about six inches in length. Strip 1/4″ of plastic from wire on each end.
Using helping hands position the copper clad and wire. Only the stripped part of the wire should be touching the copper.
Gently touch the soldering iron to the stripped wire to heat it. Touch solder to stripped wire. Solder should melt and cover wire and copper.
Flip the copper piece over and prepare second wire. Solder second wire to backside of copper clad.
Final product should have a small solder joint connecting the wires and copper clad on each side. The wires should not wiggle on the copper.
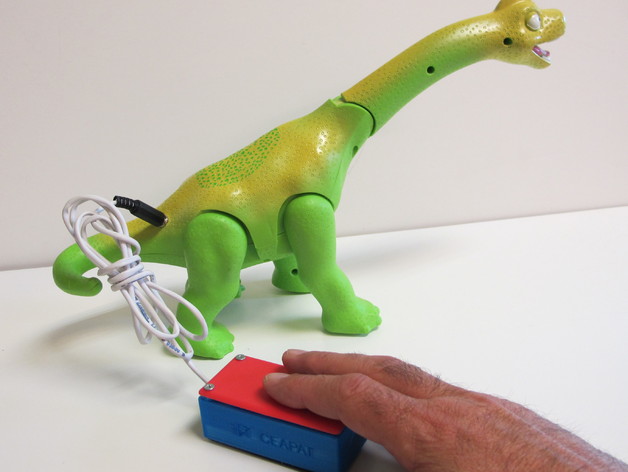
Put the battery interrupt into a battery operated toy. The positive end ( + ) will touch one side of the copper clad, the other side of copper clad will touch the toy’s battery connector.
Turn the toy’s switch ON, with the copper clad in place the toy should not operate. Touch the two wires to activate the toy. Did it work? If so, congrats! If not, double check that the battery interrupt has one side touching the battery and the other side touching the battery holder.
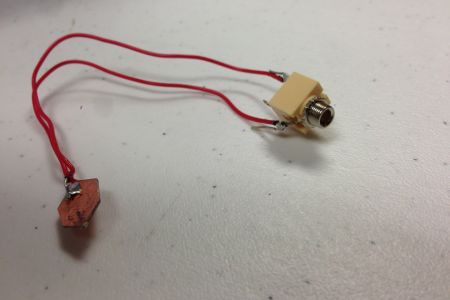
Take the 1/8″ (3.5mm) female switch jack, identify the tabs that will be connected. This particular switch jack has 3 tabs, we will connect a wire to two of them, the tabs on either side, skipping the middle tab.
To connect, bend the wire into a hook and thread it through a tab on the switch jack.
Use helping hands to hold switch jack and wire. With the tabs tightly hooked, fasten the switch and the wire to the helping hands. The wire should be pulled tight so the wire is touching the side of the tab.
Solder the wire and tab together.
After finished with the first wire and tab flip the jack and solder the second tab and wire.
With both wires soldered to the switch jack, the solder pads should be small and the wires should not wiggle. (the middle tab is unused with this particular jack)
Via DIYability
Remember to click the ‘This Helped Me’ button at the top of this page if you give this hack a try!
by Cracked it
September 29, 2016 in Solution
Via Thingiverse
A 3D printable switch casing for adapted toys – why not print the design and give it a go!
Our sponsor charity DEMAND Design & Manufacture for Disability will be happy to help if you don’t have access to a 3D printer, just get in touch via their website.
Remember to click the ‘This Solution Helped Me’ button at the top of this page, or leave a comment letting us know how you got on with this solution!
Via Thingiverse
by Cracked it
September 28, 2016 in Solution
Via Thingiverse
It seems to work for this kiddo! Will it work for you?
Our sponsor charity DEMAND Design & Manufacture for Disability will be happy to help if you don’t have access to a 3D printer, just get in touch via their website.
Remember to click the ‘This Solution Helped Me’ button at the top of this page, or leave a comment letting us know how you got on with this solution!
Via Thingiverse


