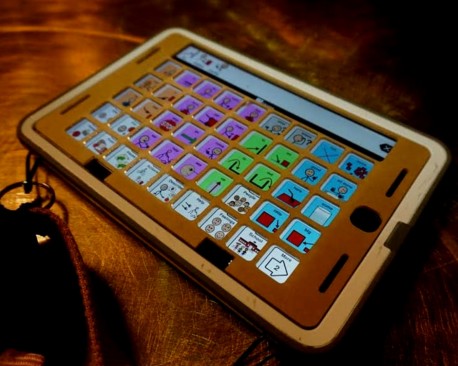
What a simple way to access switch operated toys and computers. be sure to click the ‘This Solution Helped Me’ button at the top of this page if you found this idea useful.
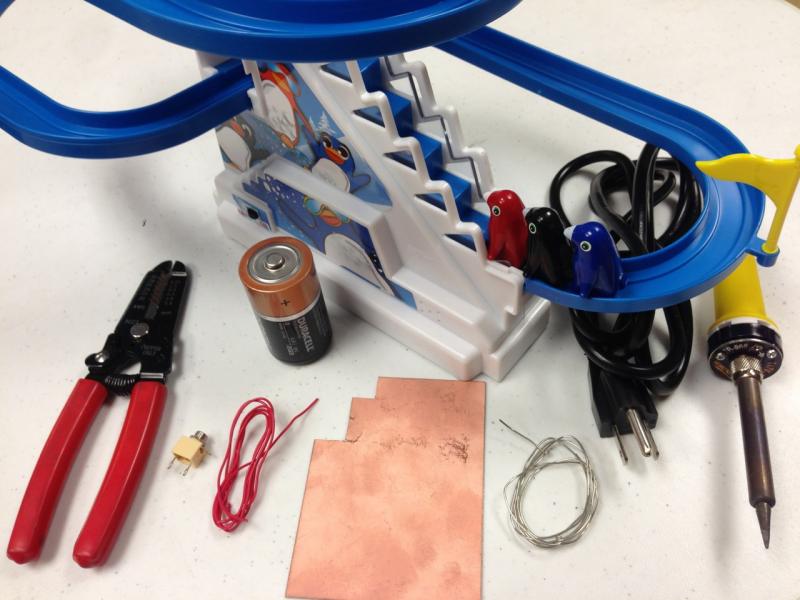
Soldering iron, solder and helping hand soldering stand
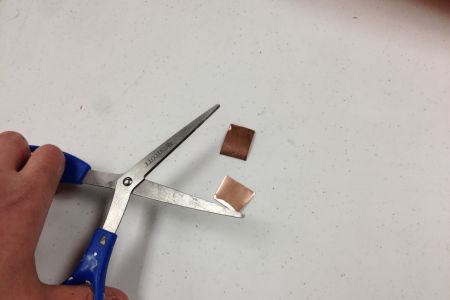
Step 1
Using scissors cut two small squares of copper. It is probably best to use older scissors to not dull your good pair. Cut an identical square from a small piece of cardboard the thickness of a postcard or cereal box top is preferred.
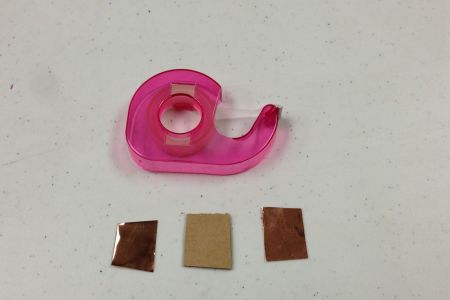
Step 2
Using double sided tape, put the copper squares on either side of the cardboard. Trim the final square to make edges even.
Step 3
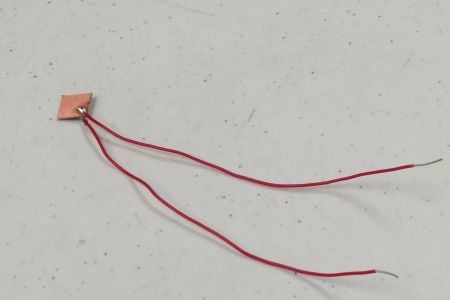
Cut two wires about six inches in length. Strip 1/4″ of plastic from wire on each end.
Using helping hands position the copper clad and wire. Only the stripped part of the wire should be touching the copper.
Gently touch the soldering iron to the stripped wire to heat it. Touch solder to stripped wire. Solder should melt and cover wire and copper.
Flip the copper piece over and prepare second wire. Solder second wire to backside of copper clad.
Final product should have a small solder joint connecting the wires and copper clad on each side. The wires should not wiggle on the copper.
Put the battery interrupt into a battery operated toy. The positive end ( + ) will touch one side of the copper clad, the other side of copper clad will touch the toy’s battery connector.
Turn the toy’s switch ON, with the copper clad in place the toy should not operate. Touch the two wires to activate the toy. Did it work? If so, congrats! If not, double check that the battery interrupt has one side touching the battery and the other side touching the battery holder.
Step 4
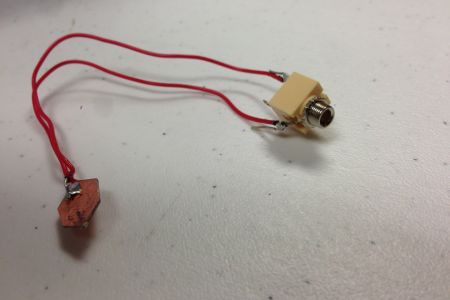
Take the 1/8″ (3.5mm) female switch jack, identify the tabs that will be connected. This particular switch jack has 3 tabs, we will connect a wire to two of them, the tabs on either side, skipping the middle tab.
To connect, bend the wire into a hook and thread it through a tab on the switch jack.
Use helping hands to hold switch jack and wire. With the tabs tightly hooked, fasten the switch and the wire to the helping hands. The wire should be pulled tight so the wire is touching the side of the tab.
Solder the wire and tab together.
After finished with the first wire and tab flip the jack and solder the second tab and wire.
With both wires soldered to the switch jack, the solder pads should be small and the wires should not wiggle. (the middle tab is unused with this particular jack)
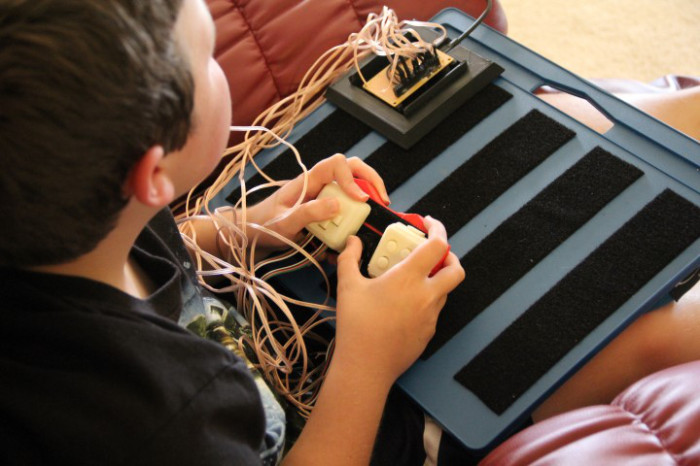
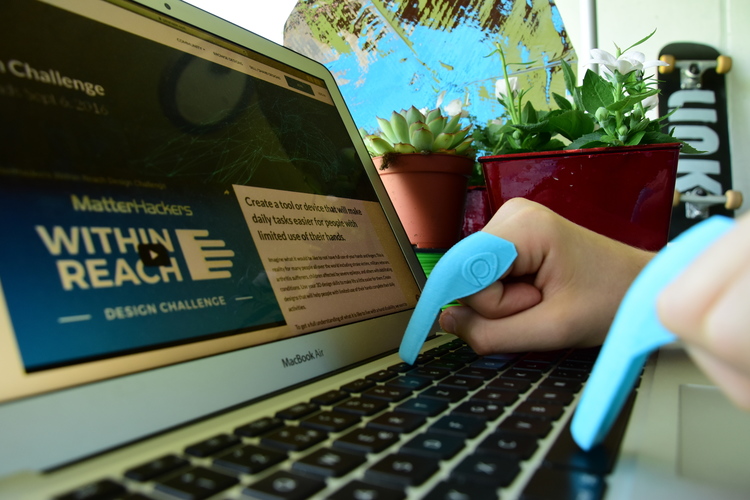
This controller has been designed to replace a traditional mouse and keyboard. It’s 3D printed and completely customisable so each button can be placed on a lap board or wherever is convenient for the gamer.
A nifty 3D printing project with great potential to help people with dexterity issues. Head over to Pinshape to download the 3D printing files, which are available in 4 sizes to suit different hands!
Don’t forget to click the ‘This Helped Me’ button at the top of the page if you give this a try.
Posted by bespoken administrator on February 6, 2014 at 11:10 in Featured InnovationView Discussions
In today’s Information Age, access to a computer is fast becoming an essential part of day to day life, even in the domestic space. With over 76% of UK adults using the internet daily, many aspects of everyday living such as receiving mail, news and telecommunication are being converted to a solely digital platform leaving those who are physically unable to use a computer at a disadvantage.
Despite the amount of technological innovation over the years, modern human-computer interaction still requires a certain level of physical interfacing. For those people with a disability which leaves them unable to use a mouse or a keyboard, access to the Internet is a very difficult task indeed.
Certain hardware adaptations, such as joystick controls or speech interface, have helped make computers more accessible. However a number of software adaptations have been developed which can help make any ordinary computer easier to control without the need of special equipment.
Camera Mouse is a free downloadable program which allows users without the use of their hands to control their computer. Developed by Prof. James Gips and Prof. Margrit Betke at Boston College, Camera Mouse was created with the intention of helping people with limited motion use a computer by using small muscle and head movements to directly control a computers mouse, as their website states “Camera Mouse is intended for people with physical disabilities, people who cannot move their hands to control a mouse or speak to a voice recognition program.”
Using mainly head movements, Camera Mouse can track the on screen mouse pointer and is compatible with most Windows based programs. Since being made public in June 2007, Camera Mouse has made over 2,000,000 downloads at a current average of one download per minute.
If you would like to learn more about Camera Mouse please visit their website here.