Budget DIY switch
October 30, 2016 in Solution
What a simple way to access switch operated toys and computers. be sure to click the ‘This Solution Helped Me’ button at the top of this page if you found this idea useful.
October 30, 2016 in Solution
What a simple way to access switch operated toys and computers. be sure to click the ‘This Solution Helped Me’ button at the top of this page if you found this idea useful.
October 25, 2016 in Solution
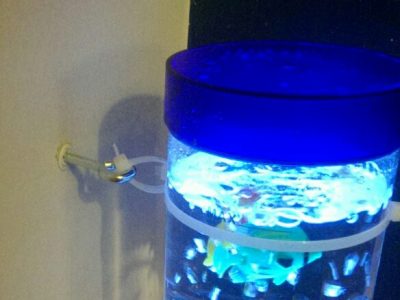

You will need:
This task took about ten minutes and cost approximately £3.
I was setting up a sensory bedroom for my son and needed to find a way to secure the bubble tube to the wall. Bubble tube clamps are so expensive and the soil-pipe-clamp solution wouldn’t work as we needed 8cm clearance for the tube to be upright due to the width of the base and the pipe clamps we found only gave 6cm clearance.
It was positioned in a corner already so couldn’t be pushed over but I needed to stop it being pulled. I drilled two holes in the walls, one near the top, one, on the other wall, near the bottom. I inserted wall plugs and screwed in eye hooks (cost a few pounds from b&q) and then used cable ties to secure the bubble tube to the eye hooks.
It is a very unobtrusive solution and if the water needs changing you can just cut the cable ties and replace them as they’re very cheap.
October 20, 2016 in Solution
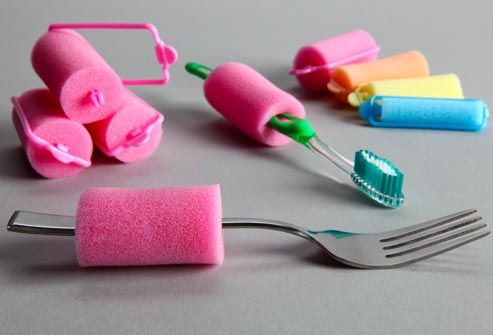
For a budget friendly way to create built up handles for cutlery, pens and toothbrushes, you can use a pack of foam hair rollers!
This video uses foam tubing purchased specifically for making built up handles.
Remember to click the ‘This Solution Helped Me’ button at the top of the page if you found this hack useful!
October 14, 2016 in Solution
Materials:
Tools:
Method:
Please remember to click the ‘This Solution Helped Me’ button at the top of this page and leave a comment to let us know how you got on with this hack.
October 10, 2016 in Solution
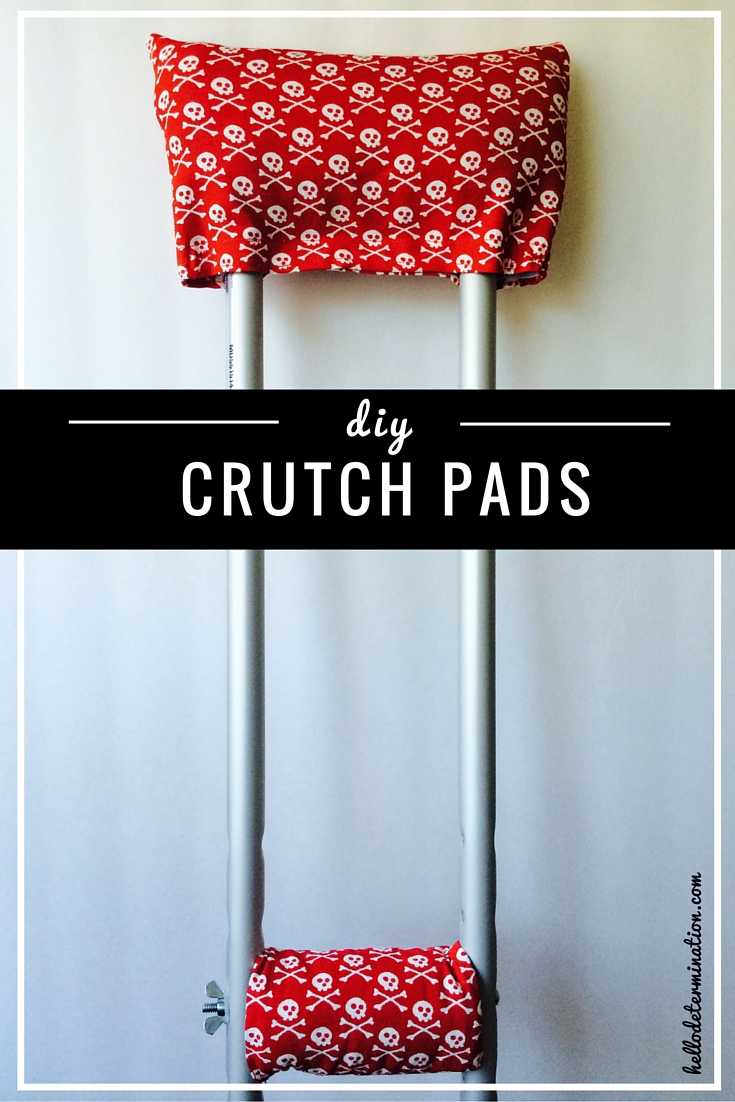
WHAT YOU’LL NEED
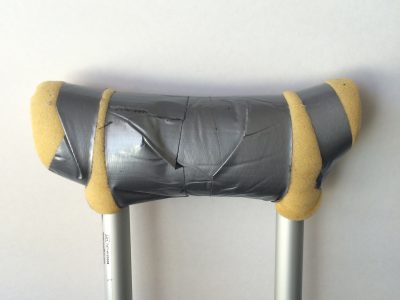
Cut the four pieces of foam as indicated above. The easiest way to secure them to the crutch tops is with duct tape. At first, I was worried that they might eventually come undone over time from all the friction, but they’ve held up wonderfully after months of use. They don’t have to be perfect as you can see from my picture below, they just have to be secure.
Cut the fabric. Cut your fabric making four 7 x 5 inch pieces for the handles. This measurement already includes seam allowance. For the fitted crutch top cut a 9 ½ x 12 inch rectangle. For either style, cut two pieces, one for each crutch.
Construct the crutch tops by first laying the fabric with wrong side up then folding over the bottom edging approximately equal to the width of the Velcro. Place the Velcro in the middle of this edge then sew along the entire width of the edge to both hem the edge and secure the Velcro at the same time.
First sew the bottom edge then the inner edge of the Velcro, and do this for each piece of Velcro.
Then fold the entire piece in half with right sides together and sew along the side edges. Finish the raw edges with zigzag stitch or an overlock machine if you have one.
If using non-stretch fabric, you will need to add elastic on the sides if you want a more fitted look. If you don’t have a preference and could do without it, just sew Velcro across the entire edge. Simply stretch and sew the elastic to each side. Turn right side out and you’re done!
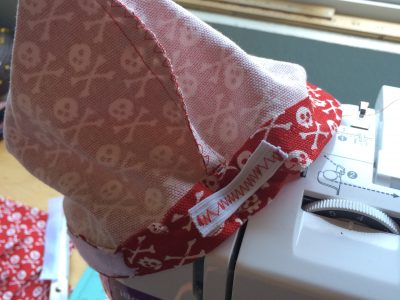
If using stretch fabric, simply cut and shape your pieces like the picture below, then proceed with adding the Velcro and sewing the side edges together.
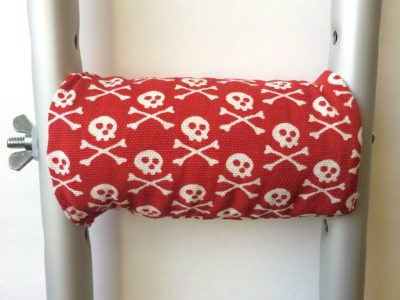
To make the handle covers, place the two pieces right side together then sew along each long edge, basically making a tube. Turn right side out and insert foam.
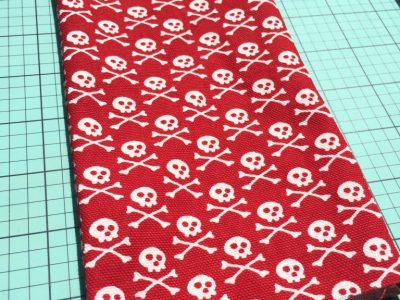
Fold in half with raw edges meeting so that you can straight stitch along the edge to secure, then zigzag to finish the raw edges. Turn right side out. I like to sew along the edge of the tube, about 1 inch, to secure this seam down.
And you’re done! All you have left to do is place these lovelies onto your crutches like so.
October 5, 2016 in Solution
Via Buzzfeed
Leave us a comment if you give this one a try, and remember to click the ‘This Solution Helped Me’ button at the top of the page.


