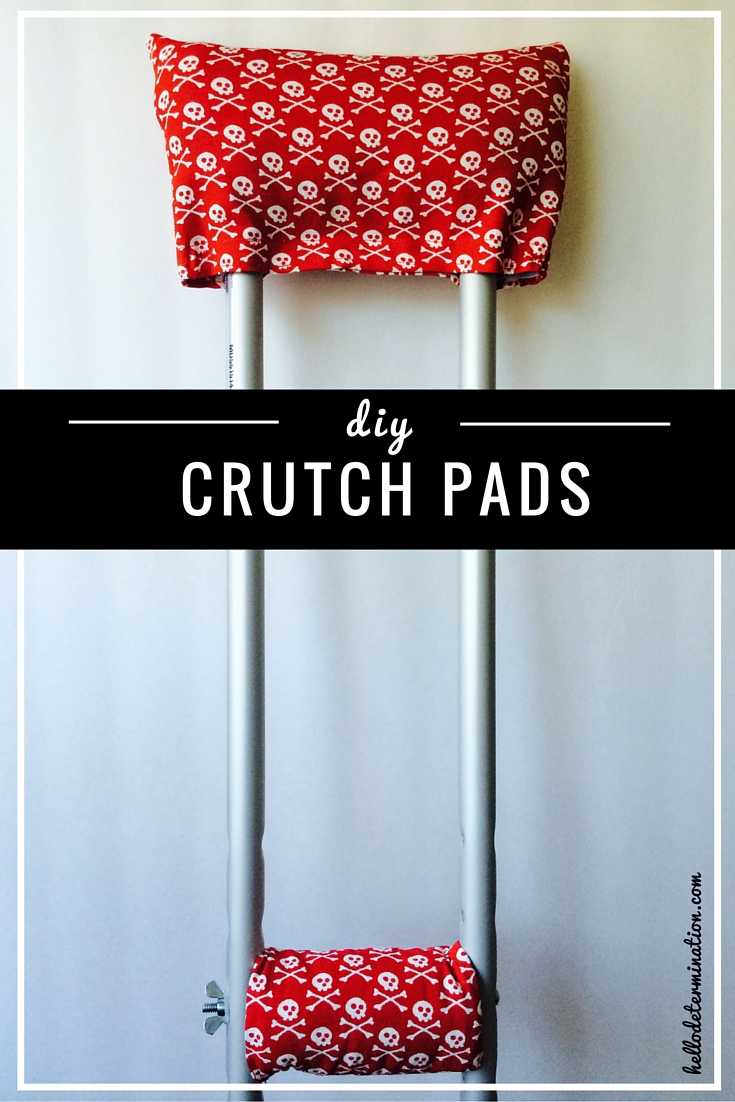
DIY padded crutch pads
October 10, 2016 in Solution
WHAT YOU’LL NEED
- ½ yard of fabric (fabric with some stretch works best)
- ¾ to 1 inch thick foam (two 8 x 8 inch pieces, and two 6 ½ inch x 4 ½ inch pieces)
- 8 inches of 5/8 to 1 inch wide Velcro (cut into two 4 inch pieces)
- Duct tape
- Needle and thread
- For using non-stretch fabric: Elastic approximately ½ inch wide (cut into two 1 ½ inches pieces)
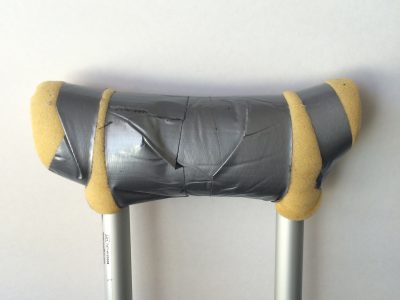
Cut the four pieces of foam as indicated above. The easiest way to secure them to the crutch tops is with duct tape. At first, I was worried that they might eventually come undone over time from all the friction, but they’ve held up wonderfully after months of use. They don’t have to be perfect as you can see from my picture below, they just have to be secure.
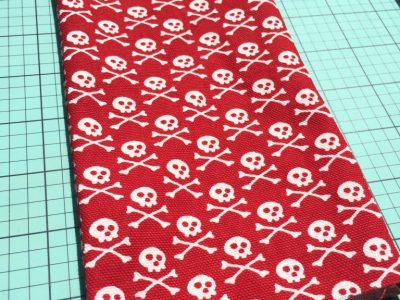
Cut the fabric. Cut your fabric making four 7 x 5 inch pieces for the handles. This measurement already includes seam allowance. For the fitted crutch top cut a 9 ½ x 12 inch rectangle. For either style, cut two pieces, one for each crutch.
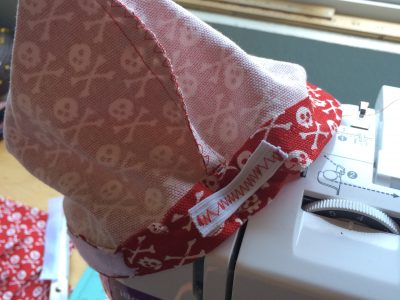
Construct the crutch tops by first laying the fabric with wrong side up then folding over the bottom edging approximately equal to the width of the Velcro. Place the Velcro in the middle of this edge then sew along the entire width of the edge to both hem the edge and secure the Velcro at the same time.
First sew the bottom edge then the inner edge of the Velcro, and do this for each piece of Velcro.
Then fold the entire piece in half with right sides together and sew along the side edges. Finish the raw edges with zigzag stitch or an overlock machine if you have one.
If using non-stretch fabric, you will need to add elastic on the sides if you want a more fitted look. If you don’t have a preference and could do without it, just sew Velcro across the entire edge. Simply stretch and sew the elastic to each side. Turn right side out and you’re done!
If using stretch fabric, simply cut and shape your pieces like the picture below, then proceed with adding the Velcro and sewing the side edges together.
To make the handle covers, place the two pieces right side together then sew along each long edge, basically making a tube. Turn right side out and insert foam.
Fold in half with raw edges meeting so that you can straight stitch along the edge to secure, then zigzag to finish the raw edges. Turn right side out. I like to sew along the edge of the tube, about 1 inch, to secure this seam down.
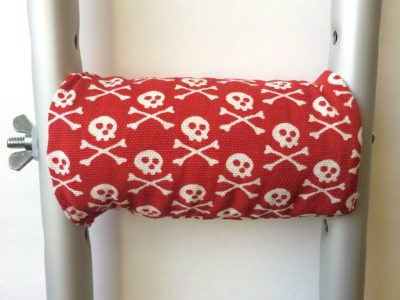
And you’re done! All you have left to do is place these lovelies onto your crutches like so.


Leave a reply
You must be logged in to post a comment.