DIY Battery Interrupter
September 29, 2016 in Post, Solution
Via DIYability
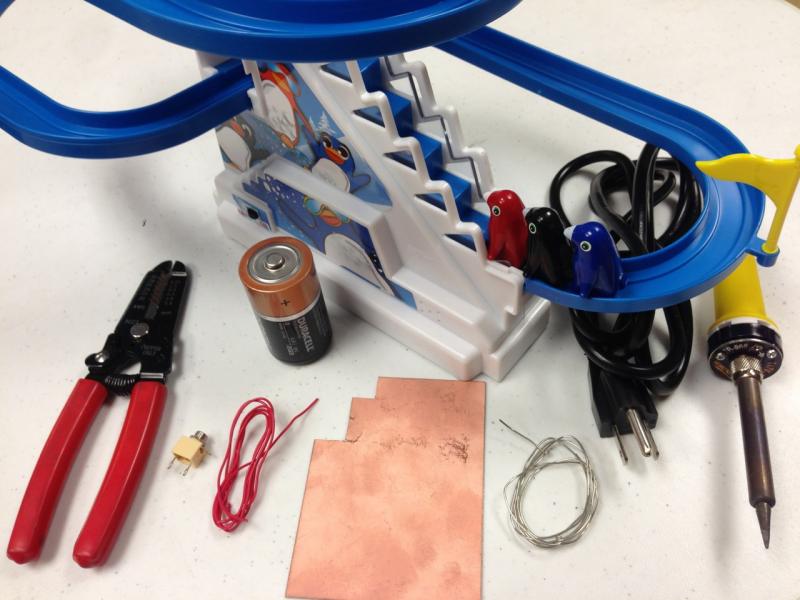
Materials required
- Thin copper sheet
- Thin cardboard
- 1/8″ (3.5mm) mono audio jack
- Hook up wire (22 gauge)
- Wire cutters/strippers
- Soldering iron, solder and helping hand soldering stand
Step 1
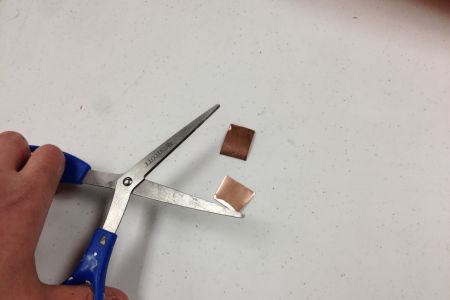
Using scissors cut two small squares of copper. It is probably best to use older scissors to not dull your good pair. Cut an identical square from a small piece of cardboard the thickness of a postcard or cereal box top is preferred.
Step 2
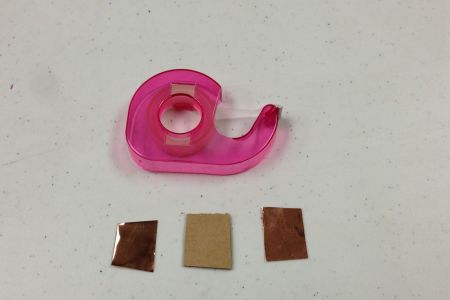
Using double sided tape, put the copper squares on either side of the cardboard. Trim the final square to make edges even.
Step 3
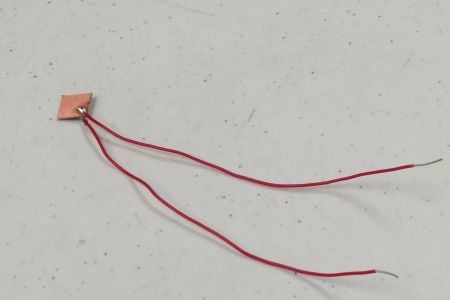
Cut two wires about six inches in length. Strip 1/4″ of plastic from wire on each end.
Using helping hands position the copper clad and wire. Only the stripped part of the wire should be touching the copper.
Gently touch the soldering iron to the stripped wire to heat it. Touch solder to stripped wire. Solder should melt and cover wire and copper.
Flip the copper piece over and prepare second wire. Solder second wire to backside of copper clad.
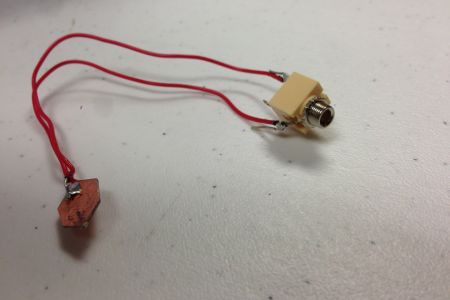
Final product should have a small solder joint connecting the wires and copper clad on each side. The wires should not wiggle on the copper.
Put the battery interrupt into a battery operated toy. The positive end ( + ) will touch one side of the copper clad, the other side of copper clad will touch the toy’s battery connector.
Turn the toy’s switch ON, with the copper clad in place the toy should not operate. Touch the two wires to activate the toy. Did it work? If so, congrats! If not, double check that the battery interrupt has one side touching the battery and the other side touching the battery holder.
Step 4
Take the 1/8″ (3.5mm) female switch jack, identify the tabs that will be connected. This particular switch jack has 3 tabs, we will connect a wire to two of them, the tabs on either side, skipping the middle tab.
To connect, bend the wire into a hook and thread it through a tab on the switch jack.
Use helping hands to hold switch jack and wire. With the tabs tightly hooked, fasten the switch and the wire to the helping hands. The wire should be pulled tight so the wire is touching the side of the tab.
Solder the wire and tab together.
After finished with the first wire and tab flip the jack and solder the second tab and wire.
With both wires soldered to the switch jack, the solder pads should be small and the wires should not wiggle. (the middle tab is unused with this particular jack)
Via DIYability
Remember to click the ‘This Helped Me’ button at the top of this page if you give this hack a try!


