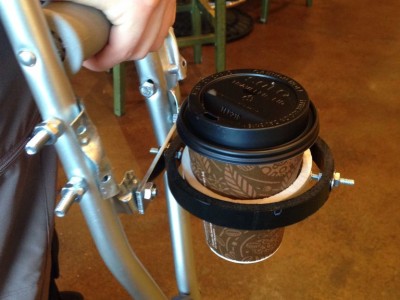
Cup Holder for Crutches
September 28, 2015 in Solution
This post was originally on www.instructables.com created by user
Those who have broken an ankle know how frustrating it is that you can’t carry anything in your hands while crutching. Just because you’re off your foot for six weeks doesn’t mean you can’t drink with the best of them! Use this mod to be more independent and wow your friends.
Step 1: Materials And Tools
All of these materials I found at an ACE hardware in Salt Lake City.
Materials:
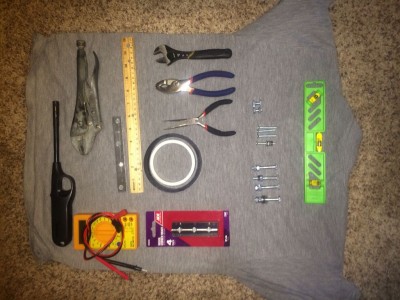
– a six-inch steel plate
– corner brackets x 2
– 1/4″ hex bolts (1″ x 4, 1/2″ x 2)
– washers and nuts
– 1/2″ section of 3″ dia PVC pipe
– 1/2″ section of 4″ dia PVC pipe
Tools:
– vice grips
– pliers (needle nose and regular)
– tin snips
– duct tape (duh)
– adjustable width pliers
– lighter
– nail
– rasp, file or screw driver (for widening holes)
Step 2: Widen Bolt Holes
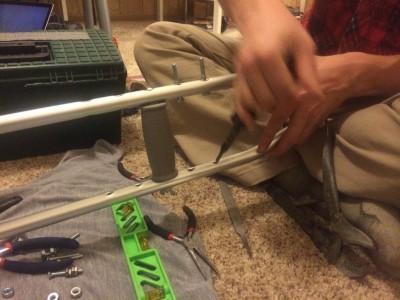
Because you didn’t buy the right hardware, open a beer and get to it. Using force and misusing any skinny tool you can get your hands on, widen the holes in your cheap aluminum hospital crutches. Try not to slice open your hand. You’ve been there before and it’s not pretty.
Step 3: Attach Corner Brackets And Cross Bracket
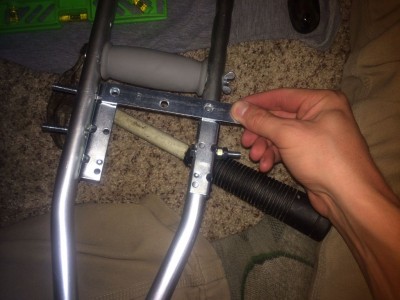
By some stroke of luck, the bolt holes align so put the pieces together (for once in your life).
Step 4: Sterilize Needle / Drill Holes In PVC Rings
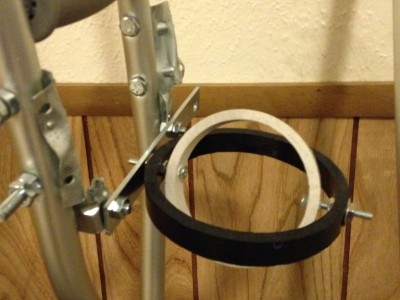
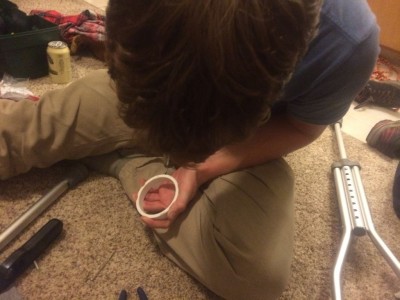
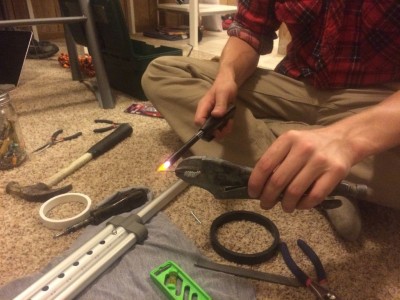
For lack of appropriate tools, you decide to melt holes into the sides of your cup holder and support rings. These are for the bolts that act as an axis. Use a lighter to heat a nail and force it through the rings. Make sure they are exactly opposed or the cup won’t swivel right.
Step 5: Bolt Everything Together
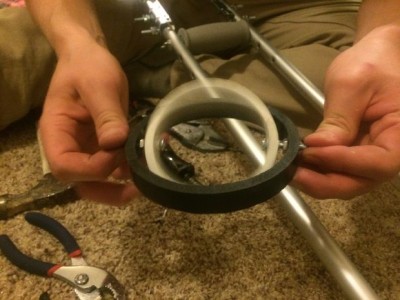
Tighten nuts around support ring (black) and to the cross plate. This is the one point of contact the crutch has with your coffee, so make sure it’s strong. Make sure there is enough play for the inner ring to spin freely.
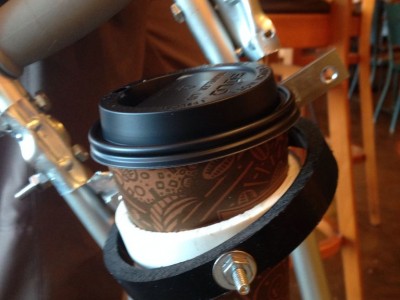
Step 6: Enjoy Your Crutches Cup Holder
Make a duct tape net for the inner ring so it can hold your beer, or leave as is for tapered vessels like coffee cups and mugs.
Ta-da! Now go get sloshed.
