Kindle Page Turner – 3D printed
September 25, 2015 in Solution
This post was originally on www.instructables.com created by user

Page Turner
Mechanical page turner for the Kindle in case of weakness or hand tremor………….
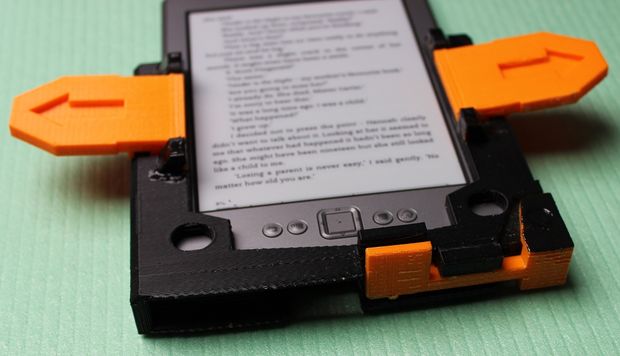
This is a simple device that allows anyone with co-ordination impairment, muscle weakness or hand tremor to turn the pages more easily on a Kindle e-reader, using flat levers or tabs each side.
Kindles are made by Amazon and are a form of electronic book. They can store many books in their memory which can be downloaded from the web. The screen is different to that of an i-Pad for example in that it only uses power when turning the page, giving a very long battery life.
They are ideal for use when in hospital.
However, the pages are turned by small thin buttons on the sides, which can be very fiddly for anyone with the slightest co-ordination problem, muscle weakness or hand tremor, i.e. quite a lot of people in hospital.
You might rightly point out that the latest generation Kindles, not shown here, have touch screens that can be set up so if you tap one side of the screen the page will “turn”.
This is true, however I am getting feedback from people with MS for example that tapping the lever each side is still much easier than tapping the screen correctly every time.
Having posted this briefly before, I am posting here the latest variant which has been tweaked a little and also has an enlarged tab which allows you to easily turn it on and off (the power button on the underside is also tiny). I did try to get this made properly by injection moulding via Kickstarter but learned my first crowdfunding lesson: it is not cool, electronic or funky enough for that audience!
I do get asked to make one now and then by people who track me down, so for the good of society, here are some instructions………………3D files are attached to Step 5.
Step 1: How it works
How it works
This photo shows the levers better and particularly the one on the underside which is hinged on the bottom right corner of the device.
Step 2: How it works (b)

How it works
The levers fold in when not in use (take care not to scratch screen though).
You can see the ridges on undersides of the tabs which press against the long thin page turn buttons on the sides of the Kindle
Step 3: Why make it ? (a)
why make it?
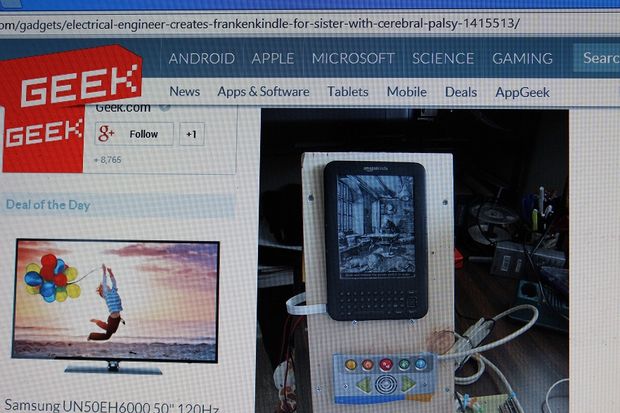
Well, here is a project called the FrankenKindle by an engineer attempting to do something similar electronically for a relative with cerebral palsy. It worked but took a lot of Kindle-hacking to get there by the look of it.
Step 4: Why make it ? (b)
Why make it?
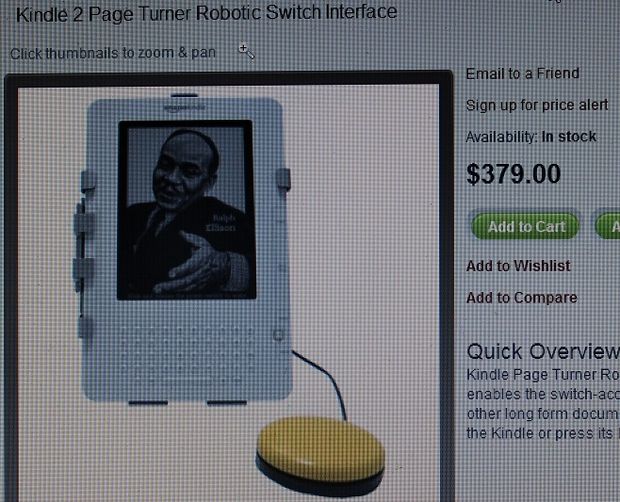
Here is another one with a single button to turn the page. A bargain at just $379.
Step 5: Print the parts

Print the parts
I use a MakerBot Replicator. This is the original plywood one which cost less than half as much as the current post-corporate buyout version.
Files were made on Google Sketchup 8.0 (.skp files) then exported as .stl files for the printer using a plugin.
NOTES ON PRINTING:
a) The hinge pins I print out horizontally, no raft.
b) The levers I print out on one side edge (not flat on print bed else edges curl up). This makes the holes each side nice and strong also.
c) The main body is tricky. I print it from base upwards, i.e. NOT laying flat on print bed else it curves and Kindle will not slide in. I DO use a raft and support for this part. The room is cold this time of year so only way to stop cracking and shrinking was to panel in all sides of machine and use a cardboard box as a top cover. This keeps everything warm inside and stops shrinkage. Earlier versions printed OK in hot summer weather without having to do all this.
I cover print bed with “slurry” method: I dissolve spare ABS plastic shavings in an egg cup of acetone until it forms a thin goo. Smear print bed with this ABS slurry using a cotton bud and things will stick to the Kapton tape.]
Download all the necessary CAD files HERE
Step 6: Clean up the prints (a)
Clean up print
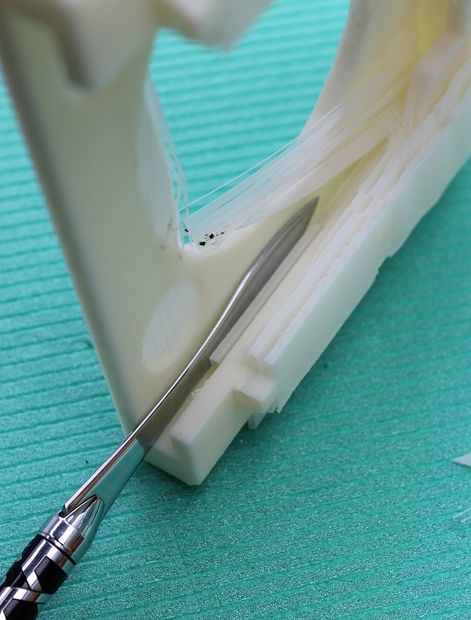
Use file to carefully clean all the dross out of the channels the Kindle will slide down into.
The Kindle will be a firm fit but not really tight else plastic will just crack.
Note: When Kindle inserted you can still insert power lead to charge it without having to take it out of the plastic frame. I have left a hole in underside for the charging lead. This is good as could damage the 3D print sliding the Kindle in and out all the time.
Step 7: Clean up the prints (b)

Clean up the tabs
Clean the tabs especially at sides where hinges will go
Step 8: Clean up the prints (c)

Clean up print edges
This is delicate, use small needle file to clean out holes each side where the hinge pins will go.
Step 9: Assemble the hinges (a)
Assemble the hinges
The hinge pins slide in from each side of the tab. Trial fit everything first, make sure the tabs move freely before you start glueing in the hinge pins. File the pins very slightly if required.
I used to glue them with thick superglue but now I use the ABS slurry again.
Mix spare ABS plastic with acetone, leave it to evaporate a little until is a thick goo. With a cotton bud use it to glue the pins in each side.
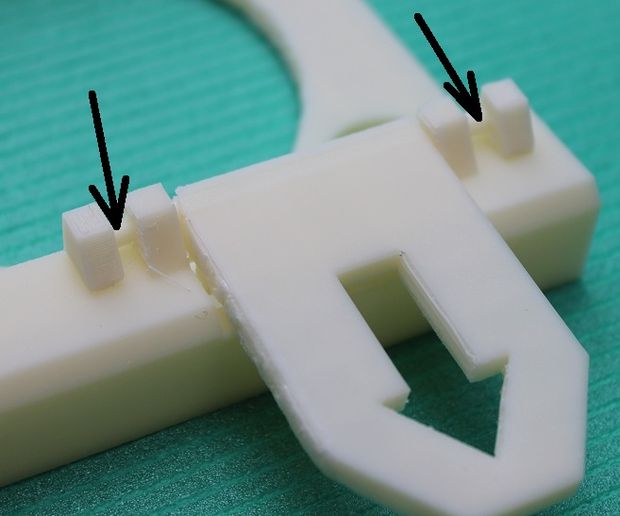
NOTE: The actual pin end that inserts into the tab should have NO glue on it else they will not fold up and down once all is set. Put the slurry/glue where shown by the arrows and do not overdo it. Can always add a little more on surface later on.
Hold pins in correct position until they set. This does not take long. Make sure tab moves freely as things set (very gently).
It is very handy to use a pair of cheap plastic magnifying spectacles or similar when doing all this.
Step 10: Assemble the hinges (b)
Assemble the hinges
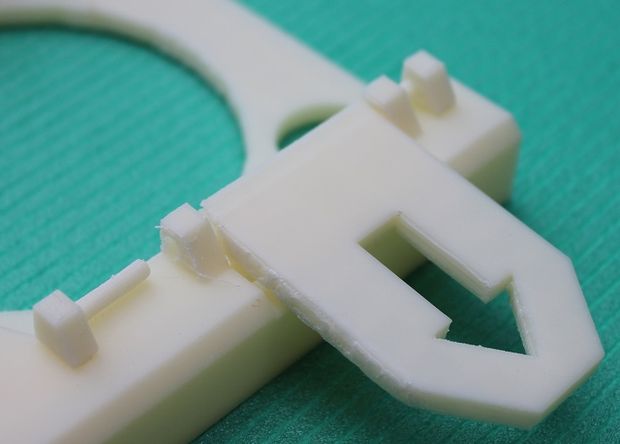
This shows how the parts are meant to go together to form the tab hinges.
Step 11: Assemble the hinges (c)
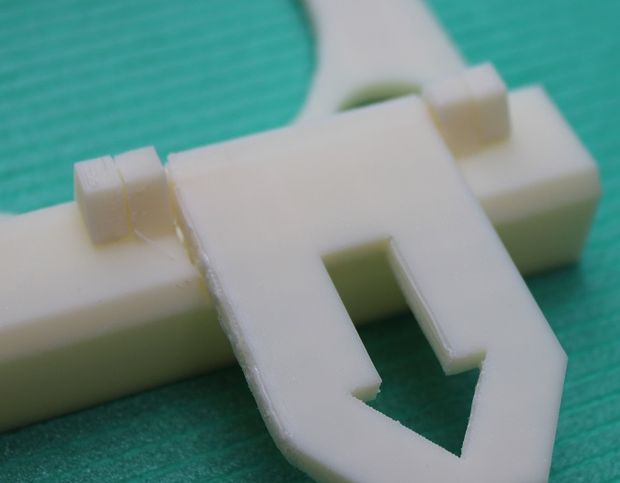
Assembled Hinges
Here they are assembled and glued into position.
Step 12: Hinges finished
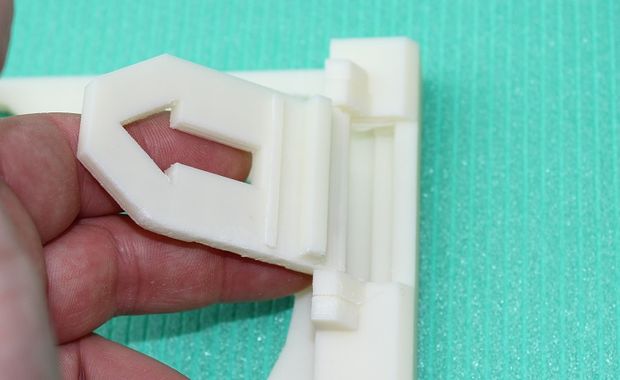
Finished Hinges
The hinged tabs should move freely else it will not work!
Step 13: Assemble the big power on/off button on underside
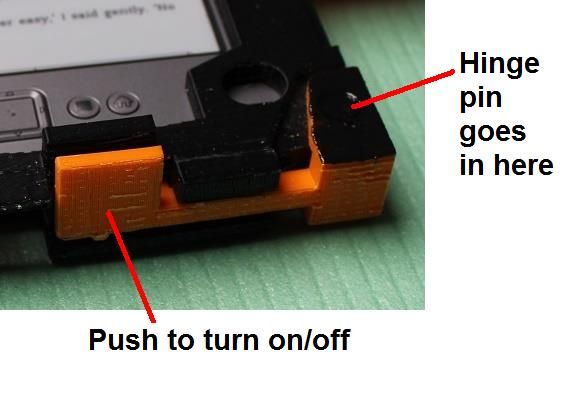
Assemble the power button
This is a new improved addition to the design. Pressing the tab puts pressure on the tiny power on/off button on underside of the Kindle. File it carefully until it just fits nicely. Once you have printed it out you will see how it goes together.
The tab on underside in orange is hinged on the right. A large round pin is pushed through main frame and secured with small dab of slurry/glue, once all holes have been filed out, cleaned up carefully and everything trial fitted first.
If you do not need this feature then just do not bother fitting it.
Step 14: Slide in Kindle and you are ready to go
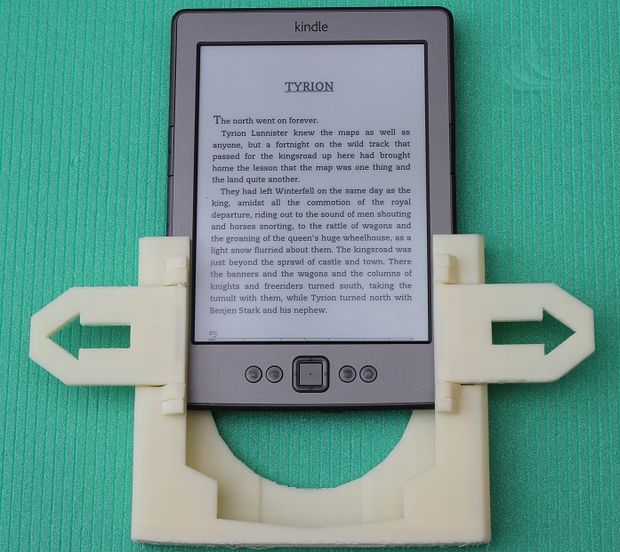
Slide in the Kindle
Slide in the Kindle.
It should be a firm fit but do not force it else the printed plastic will crack. Check you have filed out any printer debris from the guide channels on each side.
You should then be ready to go.
If you use a Kindle in bed a useful addition is a pyramid shaped cushion to go on your lap, which you can buy for reading books in bed.
Step 15: Tools used
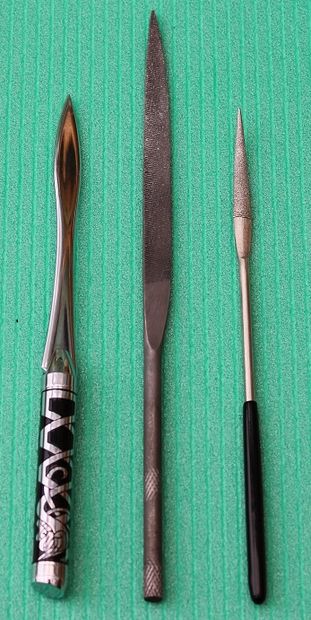
Tools Used
Letter opener is useful for gently removing prints from print bed.
Flat file for cleaning things up.
Small round one with point cleans out holes in the tabs that the pins need to freely insert into.


Leave a reply
You must be logged in to post a comment.