Deodorant Helper
November 24, 2015 in Solution
How to make a handle for roll on deodorant
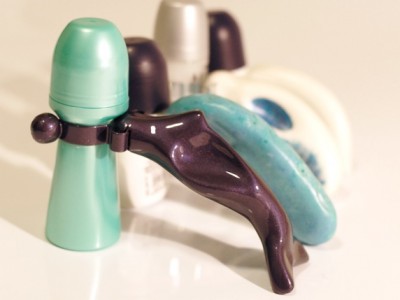
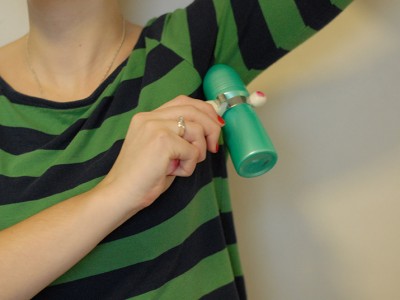
Step-by-step instructions; how to make a handle for roll on deodorant. Useful if it’s difficult to grip the bottle or hold it at the angle needed to get the deodorant in the right place. This handle could also be useful for other household tasks because of it’s simple clip holder. If you discover another use take a picture and share your tips in the comments!
Materials:
- Tool clip
- Threaded rod, size M4 (about 20cm)
- 2x Nuts, size M4
- Epoxy resin
- Lightweight air dry clay
- Spray paint or acrylic paint (optional)
- Plasti-dip (optional)
Tools:
- Pliers
- Junior hacksaw
Method:
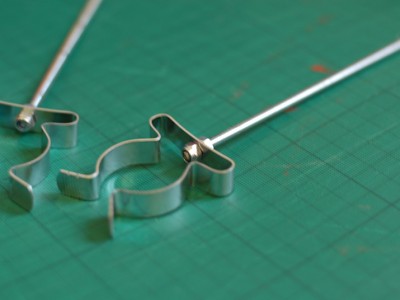
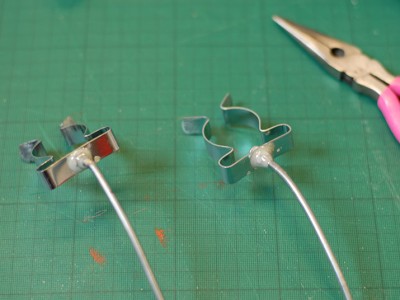
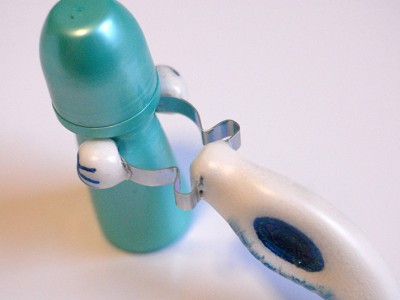
- Insert the threaded rod into the hole in the tool clip. Use one nut on either side to secure it in place, tighten with the pliers if necessary.
2. Mix a small amount of epoxy glue and cover each nut to make sure they won’t loosen over time. Leave to harden.
3. Use the pliers to bend the threaded rod into a curve. Test the handle with a deodorant bottle to find the correct angle to easily reach the underarm.
4. Trim the threaded rod using the hacksaw if it is too long. People with smaller hands might find a shorter handle is easier to hold.
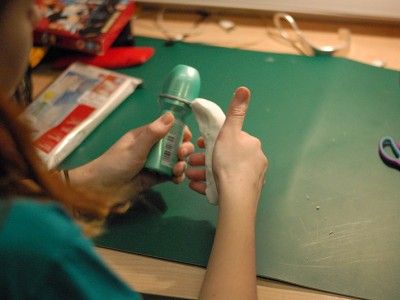
5. Use some of the lightweight air dry clay to mould the handle. Make a sausage shape and push the threaded rod inside. Use your hand to shape the clay and make the handle comfortable to hold. Use 2 small balls of clay to cover the sharp edges of the tool clip that could scratch. Leave everything to dry for at least 24 hours. (Don’t dry in the microwave because of the metal parts!)
6. Paint the handle with acrylic paint or spray paint to make it wipe-clean. The clay is porous before painting. Here are just a few ideas:
7. To make the handle more ‘grippy’ dip it in Plasti-Dip and leave to cure.
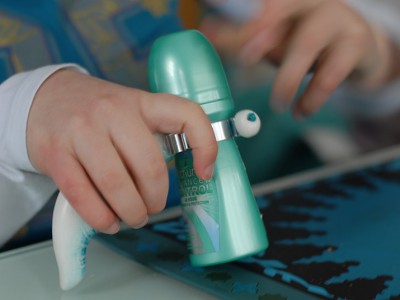
8. The handle is ready to use! Slip the tool clip over the thinnest part of the deodorant bottle, take off the lid and put some on!


Leave a reply
You must be logged in to post a comment.