The EZegg, breaking an egg with one hand
September 25, 2015 in Solution
This post was originally on www.instructables.com created by user
The EZegg
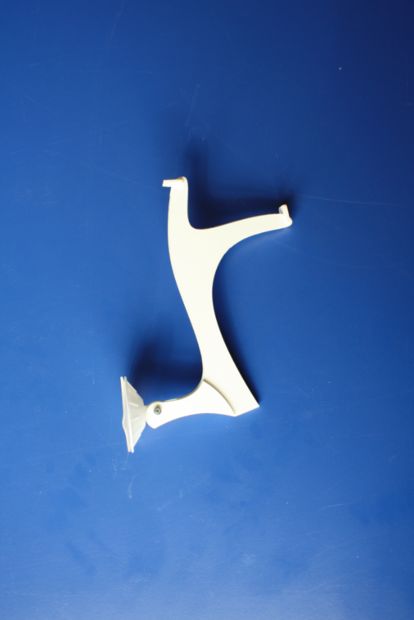
Maxim is fifteen years old and takes cooking classes in the Dominiek Savio Institute. This is not evident because Maxim has a spastic triparese, hereby he can only use one hand. Because of this problem, the cooking lessons are much more challenging for him. Breaking an egg is really difficult and often Maxim has a lot of eggshell in his cup with yolk. That is why we designed an egg break help for him. The whole process with the eggbreakhelp is based on how normally eggs are broken.
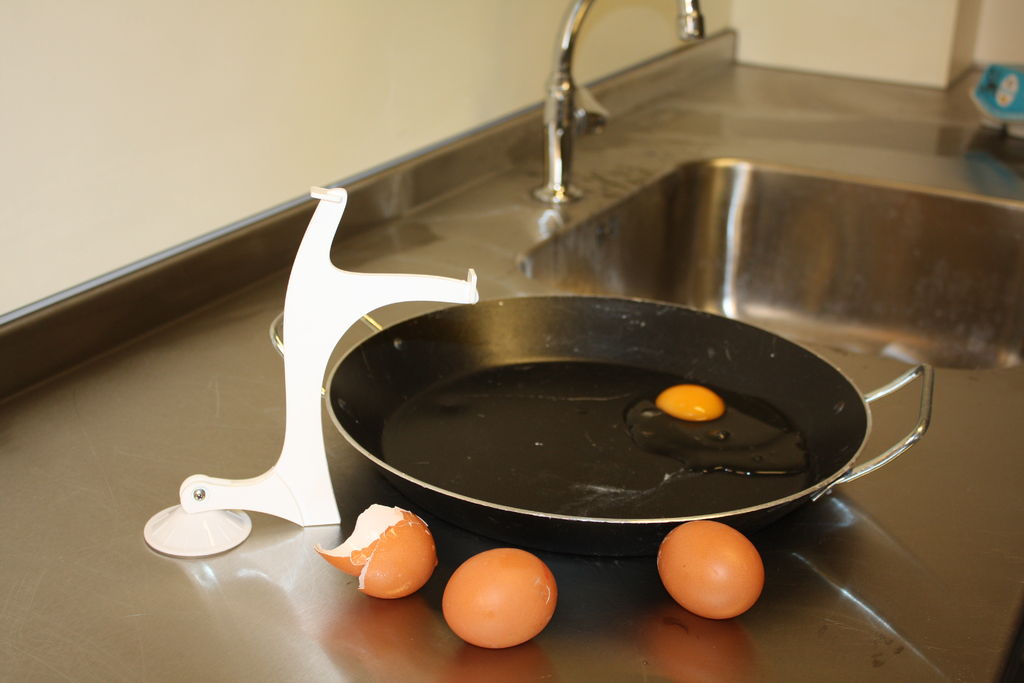
First you break it on the side of a pan or cup, then you pull the egg open with your both hands. The eggbreakhelp is designed so it takes over the function of the second hand. First the eggbreakhelp has to be attached to the floor or wall. It is designed that Maxim easily can attach the tool on every flat surface. By using a sucker and the foot we are able to create a strong structure where
Maxim is able to pull the egg apart above a pan or pot. We made it also possible to attach it to the wall because Maxim is now also able to place the eggbreakhelp higher so he can pull the egg apart above higher pots. When the eggbreakhelp is in place Maxim only has to crack the egg on the side of the pan or pot and pull the egg open with the eggbreakhelper, all the proceedings are done with one hand.
Step 1: Materials & tools
Materials & tools
Project Suckers
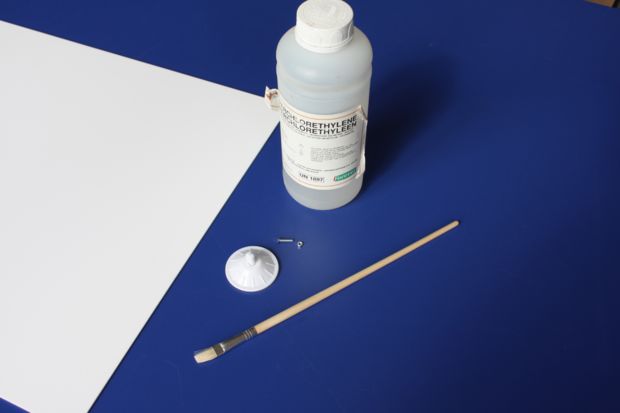
What MATERIALS do we need to make the EZegg?
1. Polystyrene sheet
2. Perchlorethylene
3. Small bolt and nut
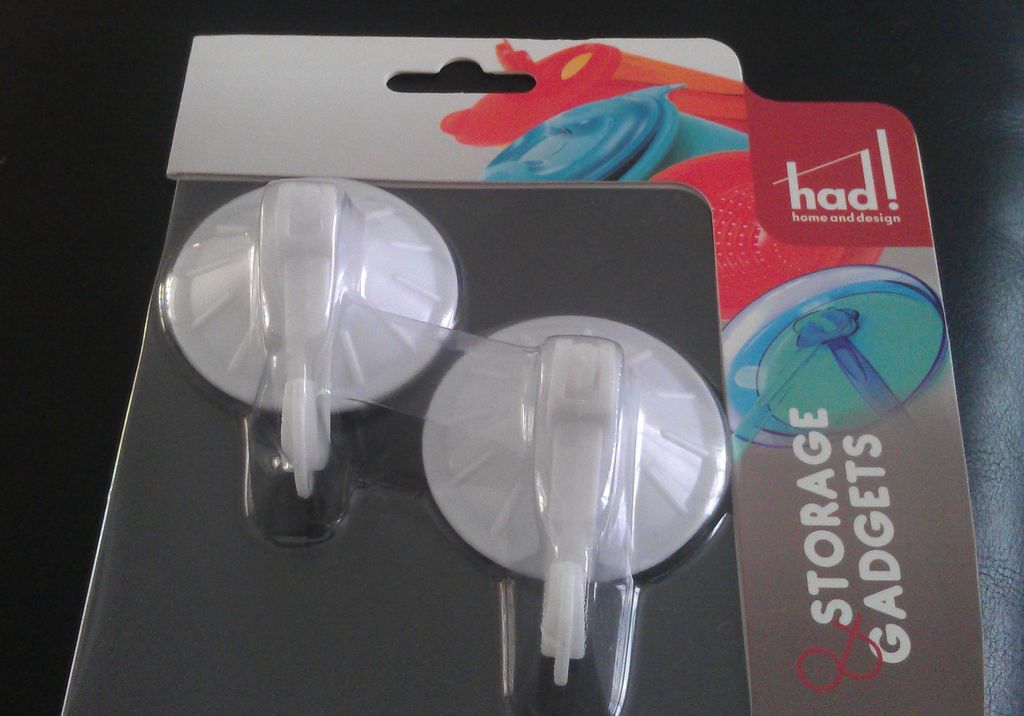
4. Suckers
the sucker must work as you can see in this small movie:https://www.youtube.com/watch?v=9zTmW5Ne0OQ we used a sucker from HAD (home and design), as you can see on the picture
What TOOLS do we need to make the EZegg?
1. Brush
2. Lasercutter
if you don’t have a lasercutter, use a small saw or a knife to cut the different parts
Step 2: Download the file
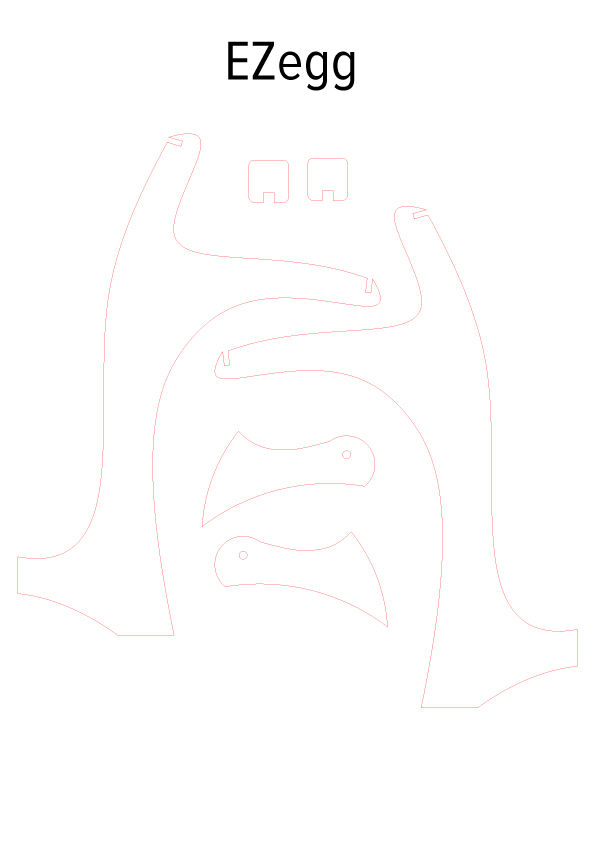
The Template
You can download the file here:
https://docs.google.com/file/d/0B_yogepncqNhR3E5M0RaeXJwNjg/edit
It’s a PDF file that you can use for lasercutting or as a template for the dimensions.
Step 3: Add your logo (optional)
If you want to add a logo or text on the EZegg, do it.
You can give the product your own touch.
(We used adobe illustrator for this)
We made one for Dominiek Savio, an institute for disabled people.
Step 4: (Laser)cut the parts
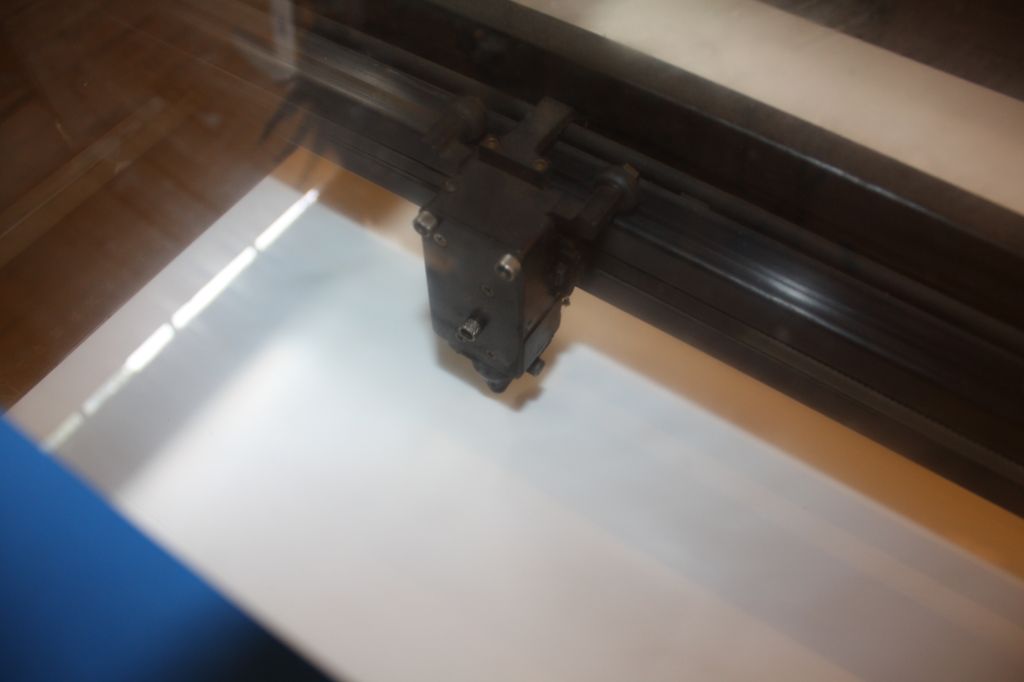
Laser Cutter

Cut Parts
With a lasercutter
1. Load the file into the lasercutter
2. Place the polystyrene plate in the lasercutter
3. Start lasercutting
After a couple of minutes you should have all the parts, with the correct dimensions
If you don’t have a lasercutter:
1. Print the file
2. Mark the dimensions of the different parts on the polystyrene plate
3. Cut out the parts
Step 5: Connect all the parts
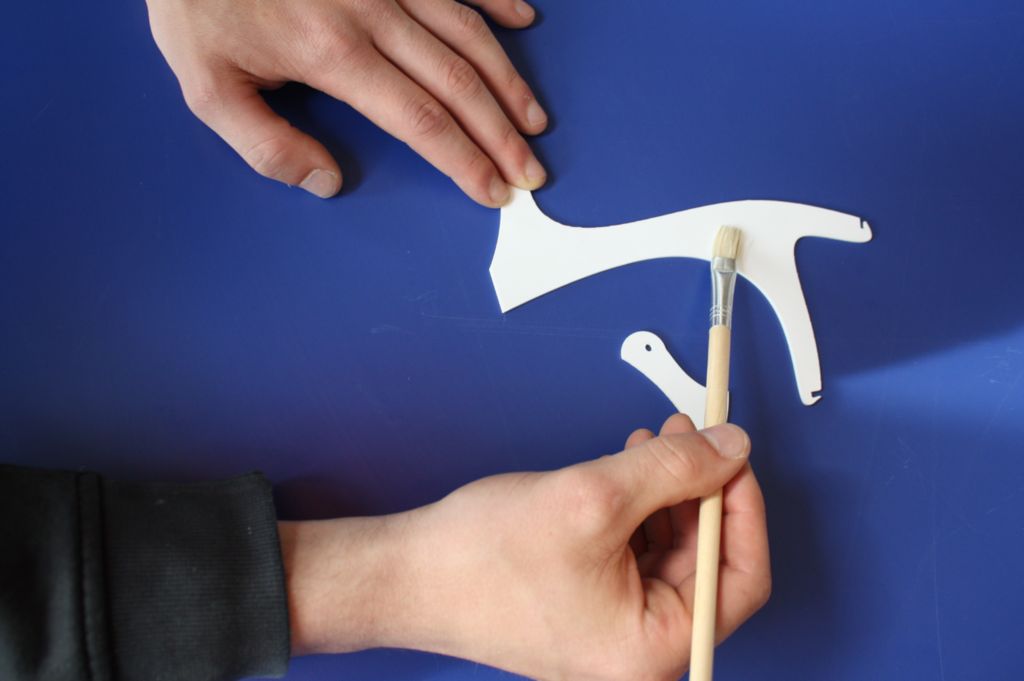
Connect the Parts
If you have al the parts, you can connect them together.
You connect the pieces together by using the perchlorethylene.
Liquor the sides that you have to connect.
Connect the sides and press them together.
Step 6: Attach the sucker
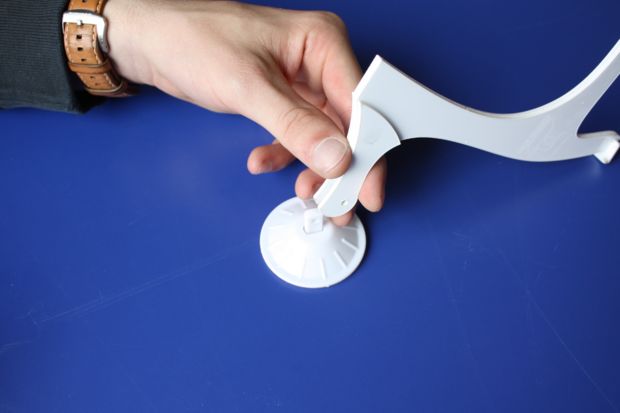
Attaching the Sucker
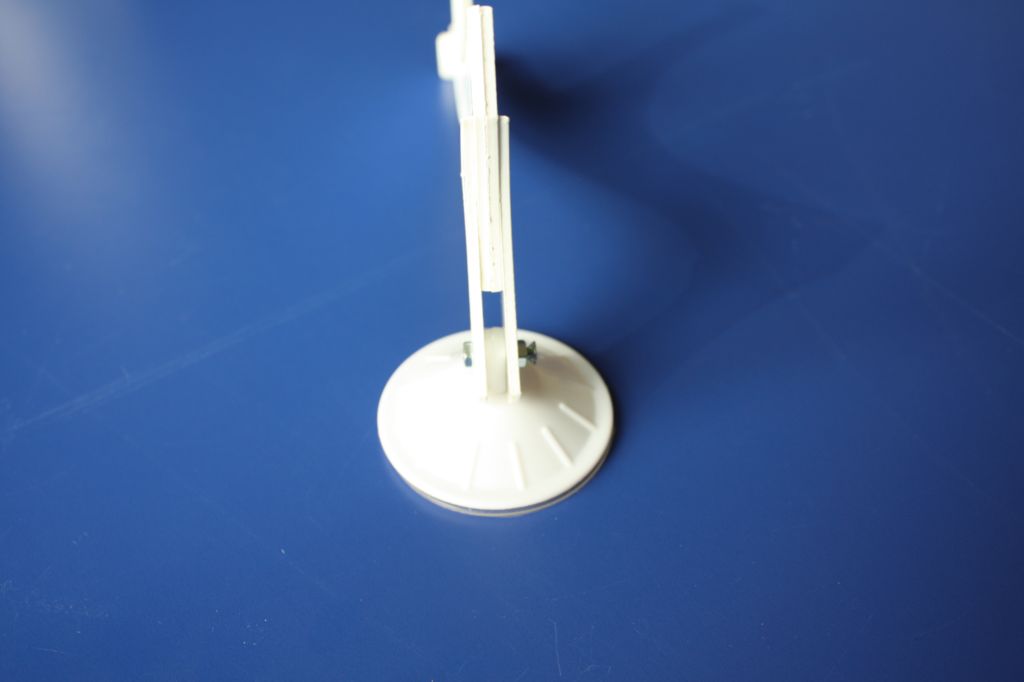
Sucker attached
The last step is to attach the body to the sucker.
This is a simple bolt – nut connection
Step 7: Use it!
Finished


Leave a reply
You must be logged in to post a comment.